*****
The first layout I want to share was created for the Doodlebug Blog! I used one of their awesome Christmas collections. You can see lots of fun Doodlebug Christmas products HERE - check it out!!
I couldn't wait to create a fun tree for last year's Christmas PJ's layout. Here's a look at the completed page, but keep reading for more details!
I started by cutting a Christmas Tree shape out of white cardstock. I used the same piece of cardstock for my layout base. After I added a piece of patterned paper, the spot where the tree was cut out is covered up. Here's a look at the back. You could actually create a fun layout right on this side too!
Anyway, back to the tree. After I cut out the simple tree shape, I started adding strips of washi tape. I didn't want it to get too busy, so I alternated two different designs. You can either trim off the edges, or fold them to the back. I did a little bit of both. After the front was covered, I added lots of coordinating glitter sprinkles and made a make-shift pot to put the tree in. I added it to the layout with foam adhesive squares for a bit of depth.
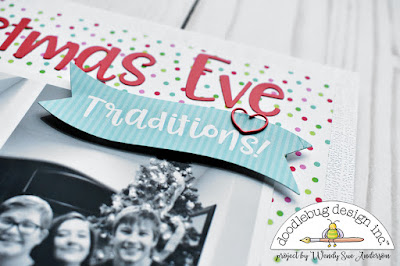
Don't you just love these new "Abigail" letter stickers? I sure do! They worked perfectly for my title, and I used a sticker (again on foam squares) with a heart shaped clip for the subtitle.
I wanted to keep the page pretty simple so the focus could stay on the photos and the big tree, but I had to add a few embellishment clusters like this one with stickers and enamel sprinkles.
And, of course, another bit of washi tape here on the bottom:
So...how about you? What's your favorite way for using washi tape?!? I challenge YOU to make an oversized tree for your next layout!


No comments:
Post a Comment