I know it's a little late for mailing cards - but if you hand deliver holiday cards, these are quick and easy to put together. I originally shared this project on the Pebbles Inc blog last year, but I didn't ever share it here - so I'm doing it now! If nothing else, bookmark the idea for next year - these cares were super easy and I think they are pretty darn cute!
I usually purchase photo cards to send out to the masses, but I like making handmade cards for a few special people in our lives. That being said, I always seem to run short on time, so it's a good idea to create a simple card and duplicate it using different papers and elements.
I started by trimming a patterned paper to 5 1/2" x 5 1/2" - then I cut 1" from the bottom to create a coordinating paper strip to add to the card front.
Next, I cut white cardstock to 4 1/2" x 3 1/2" and stitched around the edges with green thread. (I love using my sewing machine on my projects!) I placed the white stitched piece in the center of the pattered background paper, then placed the 1" coordinating paper strip on top - I varied where I placed the coordinating strip.
Next, I added a tag from the coordinating tag set. I used foam adhesive behind some of them for a touch of added dimension. I also scrounged around in my ribbon scraps to find fun ribbons to tie through the holes of each one. As you can see, I tilted the tags slightly when I attached them over the white stitched piece.
Next, I added coordinating printed die-cut pieces to each card. Some are tucked slightly under the tag, some are overlapping on top. And finally, I added some gold puffy sticker thickers to some of the cards (the holly leaves and berries).
After they were complete, I attached all of the card fronts to white cardstock bases and now I have a start to my handmade cards for this year!
Thanks for stopping by - I hope you feel inspired to whip up a few festive cards yourself now!
Well hello friends, today I'm here to share a quick and easy last-minute Christmas craft! I first shared this project on the Pebbles Inc. blog last year - but I thought it was appropriate to share it here again!
When my kids were little, I started making oversized tags to designate stockings so dear old Santa didn't get confused when he tiptoed into our family room during the night. I thought it might help him out if he could locate the stocking (with each child's name), then place the stocking next to the gifts for that child. I think Santa appreciated my help, because it can sure get confusing for an old guy to keep everyone straight! ;) Here's a peek at the tags I made for old St. Nick this year:
Each tag is about 5" in size - so large enough to be easy to see, but small enough that I could fit all four on one sheet of paper - win/win. Here's a quick step-by-step photo set to show you how I made these!
First, here are the pieces. An ornament shape (about 5"), a coordinating circle, slightly smaller, a banner, the child's name (I cut mine with my Silhouette from white cardstock, but you could also use letter stickers!), and anything you might want to use for embellishment - I chose a printed die-cut, and some gold holly berries and leaves (thickers) :
Start with the ornament shape:
Add the slightly smaller circle:
Now add the banner shape - I used foam squares to attach my banner because I love the little bit of dimension it adds:
Now is the time to add the name over the banner:
Add embellishments now! Start with the coordinating printed die-cut:
Complete the tag by adding a bit of shimmer! These gold puffy holly berries and leaves are perfect:
Now old Mr. Claus will be sure to give the correct gifts to each kiddo!! Here's a closer look at all four completed tags:
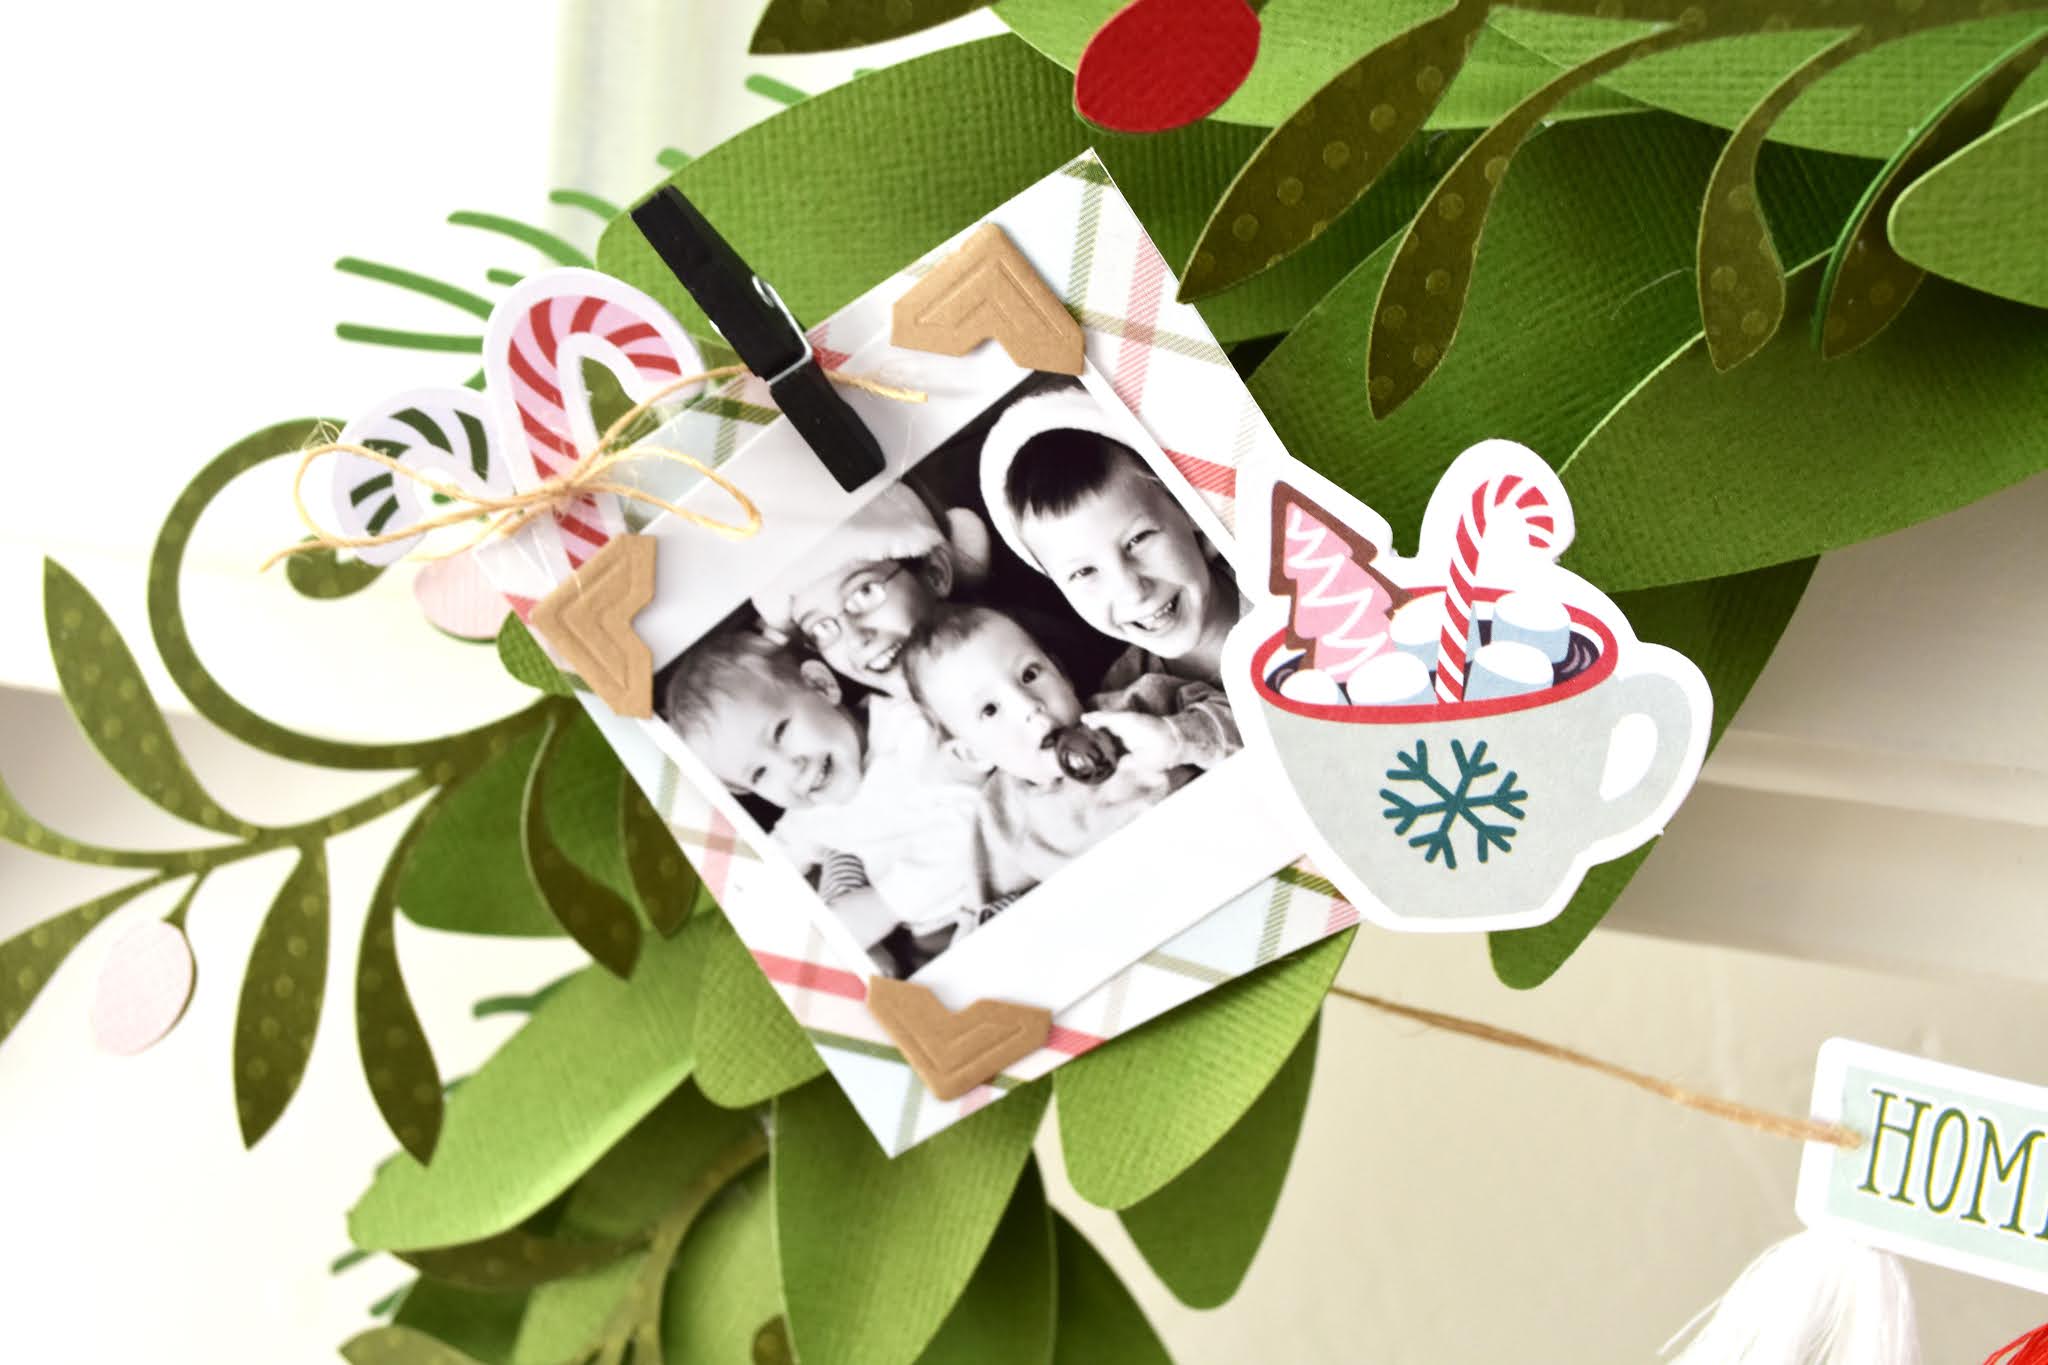
Hi Friends! I just wanted to pop on and share this fun holiday memories wreath I made last year for Scrapbook & Cards Today Magazine (You can still download the issue for free HERE!). I thought it was a fun way to create some festive décor and document some sweet memories as well.
I cut a bunch of different types of leaves and greenery with several different shades of green cardstock. Of course, I used my silhouette cameo for the cutting - I love this machine!
I added the cut out leaves/greenery to a wreath form I purchased at Michael's.
I also used products from the "Home for the Holiday" collection by Fancy Pants Designs. This collection is still available HERE! (Not an affiliate link)
Each photo was printed small (about 2" square) and matted on white cardstock. I added kraft photo corners and embellished with a cute printed die-cut.
I used little black clothespins to clip the photos around the wreath. And the entire wreath is hanging with a large black clip from Fancy Pants as well!
I love passing by this wreath and seeing my kiddos from Christmases past.
Memory keeping doesn't have to be limited to scrapbook pages!
I forgot to share these quick and easy Christmas cards that I created for the Pebbles Inc. blog last month! Oops! The good thing about it, is that you can always copy the concept with different papers that are appropriate for the season or even you are creating for!
I whipped up this cute little set in a matter of minutes. With the tiniest bit of preparation, you can too! Keep reading to see how!
Start by gathering and prepping a few things. First of all, find this fun page full of 3x4 cards
You can either cut the cards apart, or use a decorative die to cut them:
Now cut several strips of patterned paper 1 1/2" x 5 1/2"
A few patterned paper backgrounds are a must! These are trimmed to 4" x 5 1/4"
Grab the set of pre-made tags and brads (not pictured here) that coordinate with this fun collection:
White card bases are always my first choice - these are cut and scored at a standard 4 1/4" x 5 1/2"
Once the supplies are gathered, you can assemble the cards lickity split! All you need is adhesive! Here we go:
First, lay out the backgrounds:
Place the strips right in the middle of each background. The are just a bit taller than the backgrounds, so make sure they are 1/8" over the top and bottom both:
Now you can go ahead and place the tag in the middle of each strip:
Add a brad to each tag top. Remember those cute 3x4 cards? Go ahead and place one trimmed card over each tag:
Only add adhesive to the top part of the 3x4 cards - this will create a fun peek-a-boo, interactive effect!
Attach each piece to a white card background - and you're all done!!
You could easily make dozens of these cards while you sit and watch a favorite holiday movie!! They would also make a sweet hostess gift. Or a gift for a busy friend. So, tell us, are you planning to make your own handmade cards? Have we swayed you to our side??!! ♥
Wendy Sue
Do you have fun Christmas traditions that you repeat every single year? The kind that don't really need a lot of explanation? We do - and even though they don't need a lot of words, I always have photos that I want to use to document our fun family time. Today I want to share the layout I created to document our traditional family Christmas Eve activities. I shared it last month over on the Pebbles Inc. Blog! The kids always get new pajamas and a movie or game...just a few of the fun things we all look forward to every December 24th!
With all of the amazing coordinating products in this collection, it was truly quick and easy!
It's fun to get creative and customize pieces to fit your needs!
Thanks for stopping by - I hope you took lots of photos this holiday season - now don't forget to document them!!
I think I'm finally caught up with last year's projects, so now I get to share some projects I've been working on this year!! I'm in full Christmas-prep mode, and one of my first projects this season was these cute mini Christmas Treat Bags I made with the brand new "Cozy & Bright" collection! They are so cute and easy - keep reading to see how you can whip up a batch yourself!
Start by choosing a favorite treat bag cut file (THIS is the one I used) and a fun patterned paper.
Click HERE to visit the Pebbles, Inc. blog to see the step-by-step photos and a complete supply list! I'll also link the products below (I used affiliate links) for quick and easy access!!
I repeated the process several times to make more treat bags.
Here's one with a cute toadstool house:
A silly holiday sloth:
A sweet reindeer:
And, of course, the big guy himself:
These little bags are so quick and easy and cute, they would be easy to make in bulk for neighbor gifts, classroom treats, or coworker surprises. I think you could whip up 25 of them and make a darling little advent/countdown 'til Christmas project too! I'd love to see what YOU do with this fun idea for making mini Christmas treat bags !