Showing posts with label organization. Show all posts

Tuesday, October 08, 2019

how to organize cards | pebbles inc.

Today I want to share an idea for organizing cards!  You probably already know, but I make cards.  A lot of cards.  A lot lot lot of cards.  I love having a huge stash of fun cards to choose from for just about any occasion.  The only problem is figuring out how to best organize them.  I've tried lots of different ways over the years (here's a link to the system I tried last year HERE).  But I'm still looking for the best system for me.  So this year, I'm going to try something new.  I'm putting the Project Life system to work for me in my card-organizing endeavor!  When I thought of this, it almost seemed TOO easy.  Most cards are 4 1/4" x 5 1/2" - which means they fit almost perfectly in a 4"x6" page protector opening.  I don't mind having them stick out of the top just a bit - in fact, that makes it easier to pull them out.  And I love the idea of being able to organize the cards by theme, and see them all in a glance - no need to pull out a stack and flip through each card - just open the binder and flip the pages! Here's a look at my new system:
  How to organize your homemade cards by @wendysue for @PebblesInc 
 I made cards for each card "theme."  These cards will separate the sections in my binder.How to organize your homemade cards by @wendysue for @PebblesInc 
I'll place each one in the top right corner of a page protector for easy reference. How to organize your homemade cards by @wendysue for @PebblesInc How to organize your homemade cards by @wendysue for @PebblesInc
Here's how easy it was to assemble each of the cards. First, I cut a 4" x 6" piece of patterned paper for each card, and a 3 1/4" x 4" paper as well.  I found the themes on the "thankful" paper in the Woodland Forest collection - but many of the Pebbles collections have a similar page that would work!  I also pulled a cute embellishment and some twine for each card. How to organize your homemade cards by @wendysue for @PebblesInc 
 The first step is to stitch, with a sewing machine and white thread, the patterned paper to the left side of the neutral 4"x6" paper:How to organize your homemade cards by @wendysue for @PebblesInc 
 Next, place the "theme" card on the right side, slightly sticking out over the top of the card.How to organize your homemade cards by @wendysue for @PebblesInc 
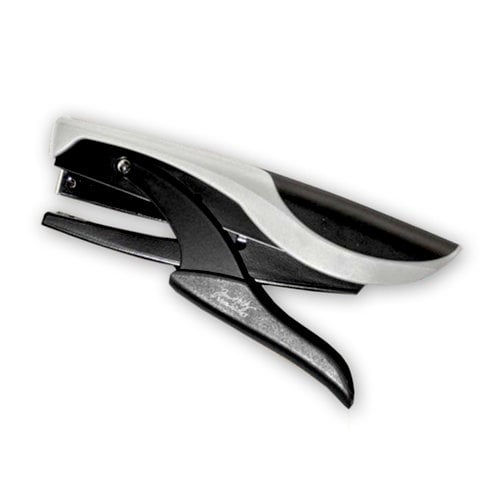
 Next, I used a mini stapler to add the jute to the card. Here's a simple way to add a jute bow.  Staple the jute down wherever you want the bow to be.How to organize your homemade cards by @wendysue for @PebblesInc 
 Tie the jute in a knot over the staple (this will pretty much hide the staple).How to organize your homemade cards by @wendysue for @PebblesInc
Now tie a bow - the staple has disappeared and there's a perfectly placed jute bow! How to organize your homemade cards by @wendysue for @PebblesInc 
 Add the wooden embellishment to the left side of the card.How to organize your homemade cards by @wendysue for @PebblesInc 
 That's it! How to organize your homemade cards by @wendysue for @PebblesInc 
 Now repeat the process for each card:
  How to organize your homemade cards by @wendysue for @PebblesInc 
 I added some thickers to the label holder in the spine of the binder: How to organize your homemade cards by @wendysue for @PebblesInc 
 Now just tuck your handmade cards into the divided sheet protectors and you're ready to share love through your cards!  One other thing I like about this system is that I can use some of the other page protectors to hold different sized cards - or even tags.  If I use a regular 12x12 page protector, I could even tuck in gift bags!  Another thing I think I'm going to like about this system is the convenience of seeing which themes need to be replenished!  When I'm in the mood to create cards, I can flip open the binder and see which theme has less "inventory" to choose from and go from there! Thanks for stopping by today.  If you have a favorite way to organize your cards, please share in the comments - I love seeing how other people organize!! 
  Supplies:
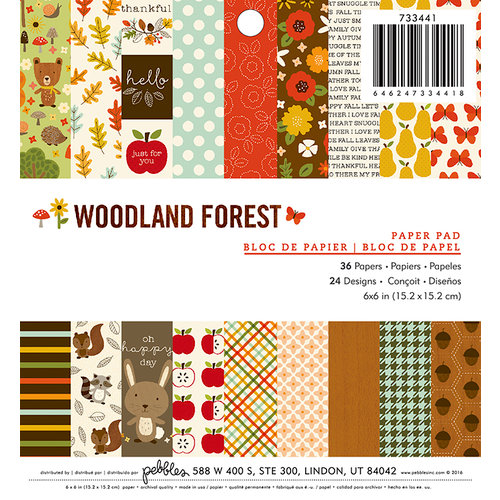
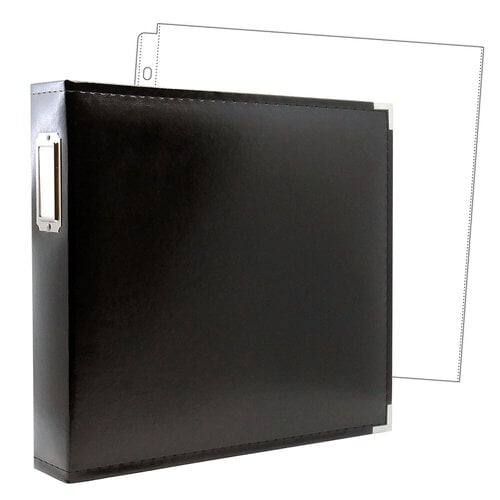
Pebbles - Woodland Forest Collection - 6 x 6 Paper PadScrapbook.com - 12 x 12 Three Ring Album - Black with 10 Page ProtectorsAdvantus - Tim Holtz - Idea-ology - Tiny Attacher with 100 Tiny Staples


Wednesday, June 06, 2018

easiest diy pantry whiteboard

I love my little house - even the littleish kitchen. As much as I love it, though, there's a part of me that longs for wide, open walls with lots of space to decorate and create fun little decorated nooks.  I love to peruse instagram and pinterest and see all of the fun chalkboards and whiteboards, even though I know I do not have the space to create one.  Or do I?  I recently discovered the perfect way to add a cute and functional space to my kitchen - someplace I had never considered before.  The door!  Yep, my pantry door.


Not this side - the INSIDE!


I'm going to add a whiteboard with this awesome product from Kassa:


Here's a peek at what's inside the box:


I started by measuring the panel in the door.  The contact paper has graph lines on the back, so it was super easy to measure and cut:


After it was cut to size, I simply peeled off the backing:


And added it to the door.  I started at the top and rubbed gently as I adhered it. It was very forgiving and easy to peel back and reattach when it started laying crooked.


I know it's kind of hard to see because everything is white.  You can kind of see the shine here:


And now, even though I don't have extra wall space, I have an awesome, custom whiteboard that will be so useful! 


Now I can wipe off and reuse over and over again!  And maybe this will help me to be more organized too!  Yay for that!


Now I really want to learn how to hand letter fancy words so I can really make this cute!! hmmmm...maybe I'll add some paper crafted decor too.  


Have you tried this awesome whiteboard contact paper?  I'd love to see your projects!

Wednesday, January 10, 2018

birthday card organizer | doodlebug design

Hi friends!  It's a new year and that means lots of organizing projects for me!  I wanted to share this fun birthday card organizer I made at this time last year for one of my Doodlebug Design Team projects.

I'm always looking for ways to stay organized, and this is an area where I truly fall short.  No matter how many cards I make, it seems I'm always scrambling to find just the right birthday cards for friends and family members...hopefully that will be a thing of the past after this project is complete!


The idea is that each month has it's own file/pocket/envelope thingy.  Yes, that's what you call it when you can't land on ONE name. ;)  And I'll be able to slip the birthday cards into the pocket way before the birthday...a special card made with a certain somebody in mind!  Then, when it's time for the celebration, the perfect card will be ready!

I love the feel of the calendar pages for this project!  In addition, I gathered a few additional cute doodlebug products and I modified a silhouette cut file to come up with this design.


Here's how it all goes together:

First, I cut the file/pocket/envelope thingy from one of the cute calendar papers and assembled it:


Next, I used a scrap from the paper to cut this tag shape. I wanted to add a month sticker to each tag. Since some of the months are too long to fit on the tag, I opted to abbreviate.  I punched a hole and tied chunky twine through the top


I added it to the front of the bag.  At the top of each file/pocket/envelope thingy, I added a circle of patterned paper and punched a hole through the center.


 The next step was to embellish the tag a bit - either on top or behind.


Next, I used a word document to create a text box and added names of birthday people for each month.  I printed it out on regular paper, but then used washi tape to secure a subtley patterned paper on top and printed again.


After trimming out the box, I added small number stickers for the date and attached the list to the front of the file/pocket/envelope thingy with a cute shaped clip.


Repeat the process for each month (I have finished four so far):


After creating one organizer for each month, I will add them all together with a binder ring!


Now as I create cards for each person, I can slip it into the organizer and I'll be ready well before their big celebration - at least that's the plan!  Now I just need to get busy making special cards for all of the special people in my life!

***
Guess what?  This awesome calendar collection is still available (even though I created this project last year) and it's on SALE!  Here's a link:


Thursday, June 23, 2016

card organization | pebbles, inc.

Do you have lots of handmade cards just sitting in a box or basket, waiting for the right occasion to give away?  I sure did...and every time I needed a card, it took a while to dig through the stack to find the right one.  Not anymore!  And it took less than an hour to put this project together! This is my new card station:
How to organize handmade greeting cards - a project by @wendysuea with the DIY Home Collection by Jen Hadfield for @Pebblesinc.
It was really easy to put together.  I started with this empty wooden box:
How to organize handmade greeting cards - a project by @wendysuea with the DIY Home Collection by Jen Hadfield for @Pebblesinc.

And I used with this awesome recipe card/file die to cut several papers from the DIY Home collection.
How to organize handmade greeting cards - a project by @wendysuea with the DIY Home Collection by Jen Hadfield for @Pebblesinc.
I printed off some small labels to separate the themes of my cards, trimmed them, and glued them right onto the patterned dividers.
How to organize handmade greeting cards - a project by @wendysuea with the DIY Home Collection by Jen Hadfield for @Pebblesinc.

Check out the rest of the process on the Pebbles, Inc. blog HERE!

How do YOU organize your cards?