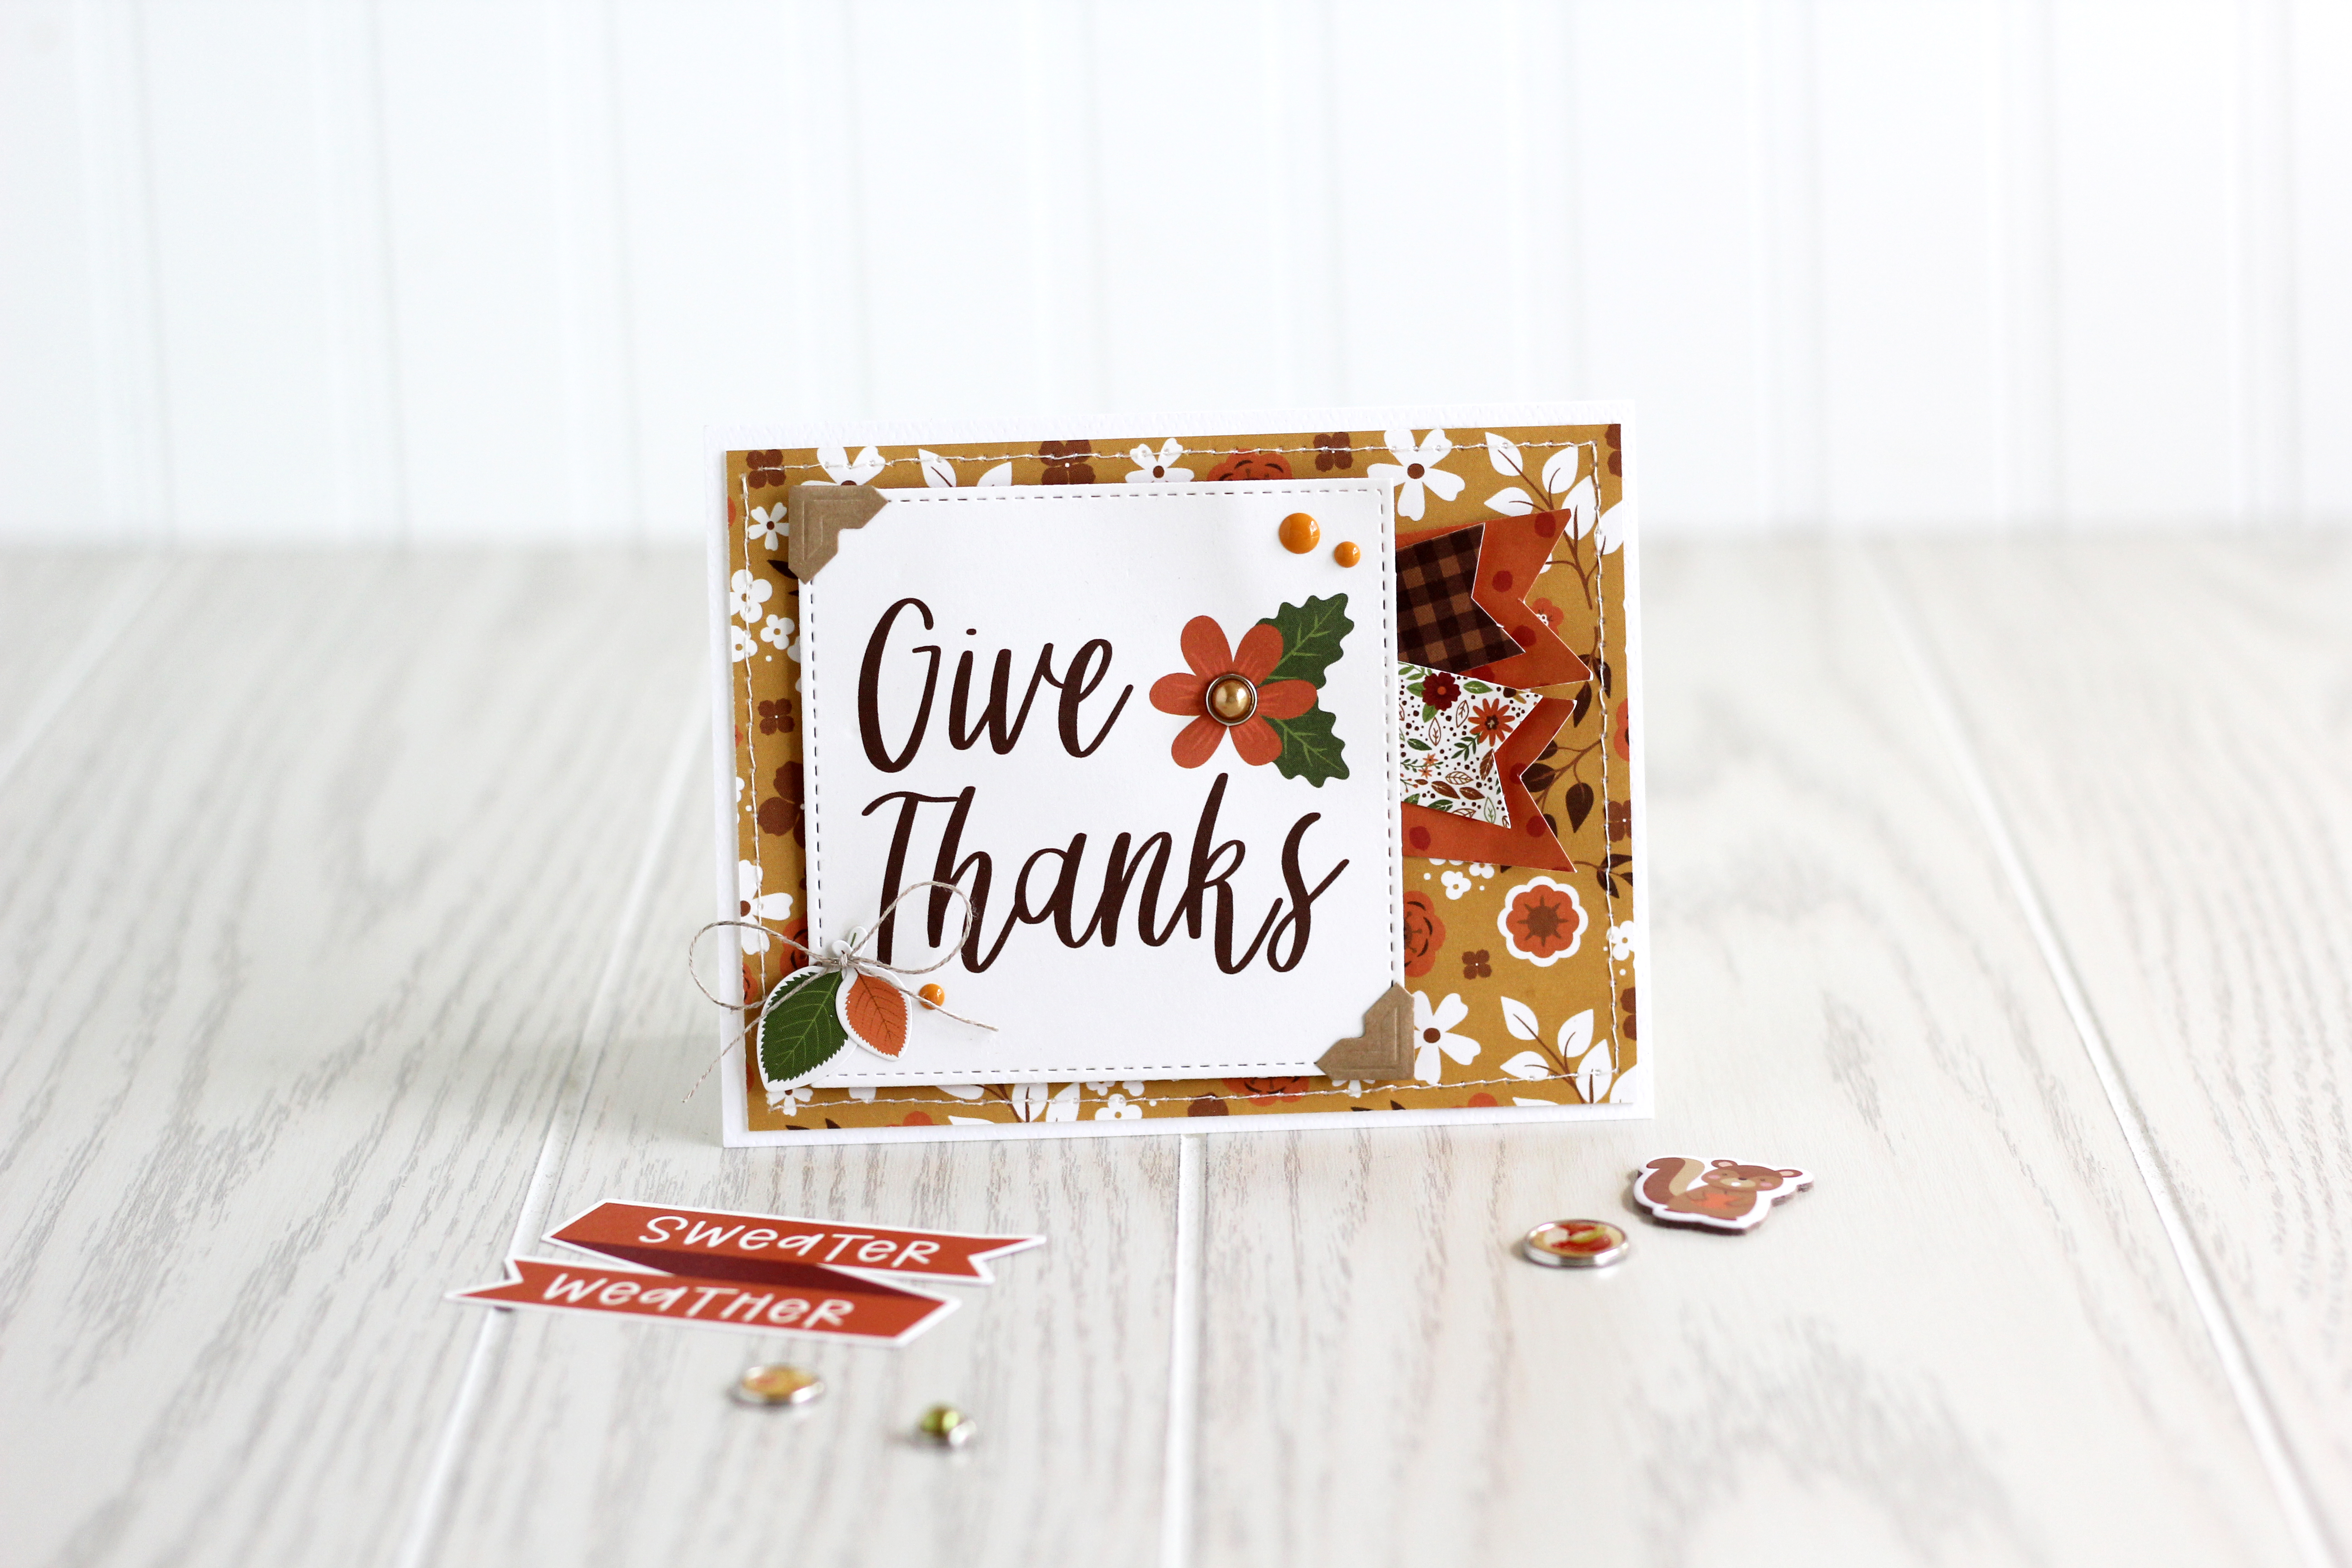
Happy Fall!! When it's time to pull out the cozy sweaters and the pumpkin spice, I am one happy girl! Crafting and Fall go hand in hand for me, so it's only natural that these cards make me giddy.
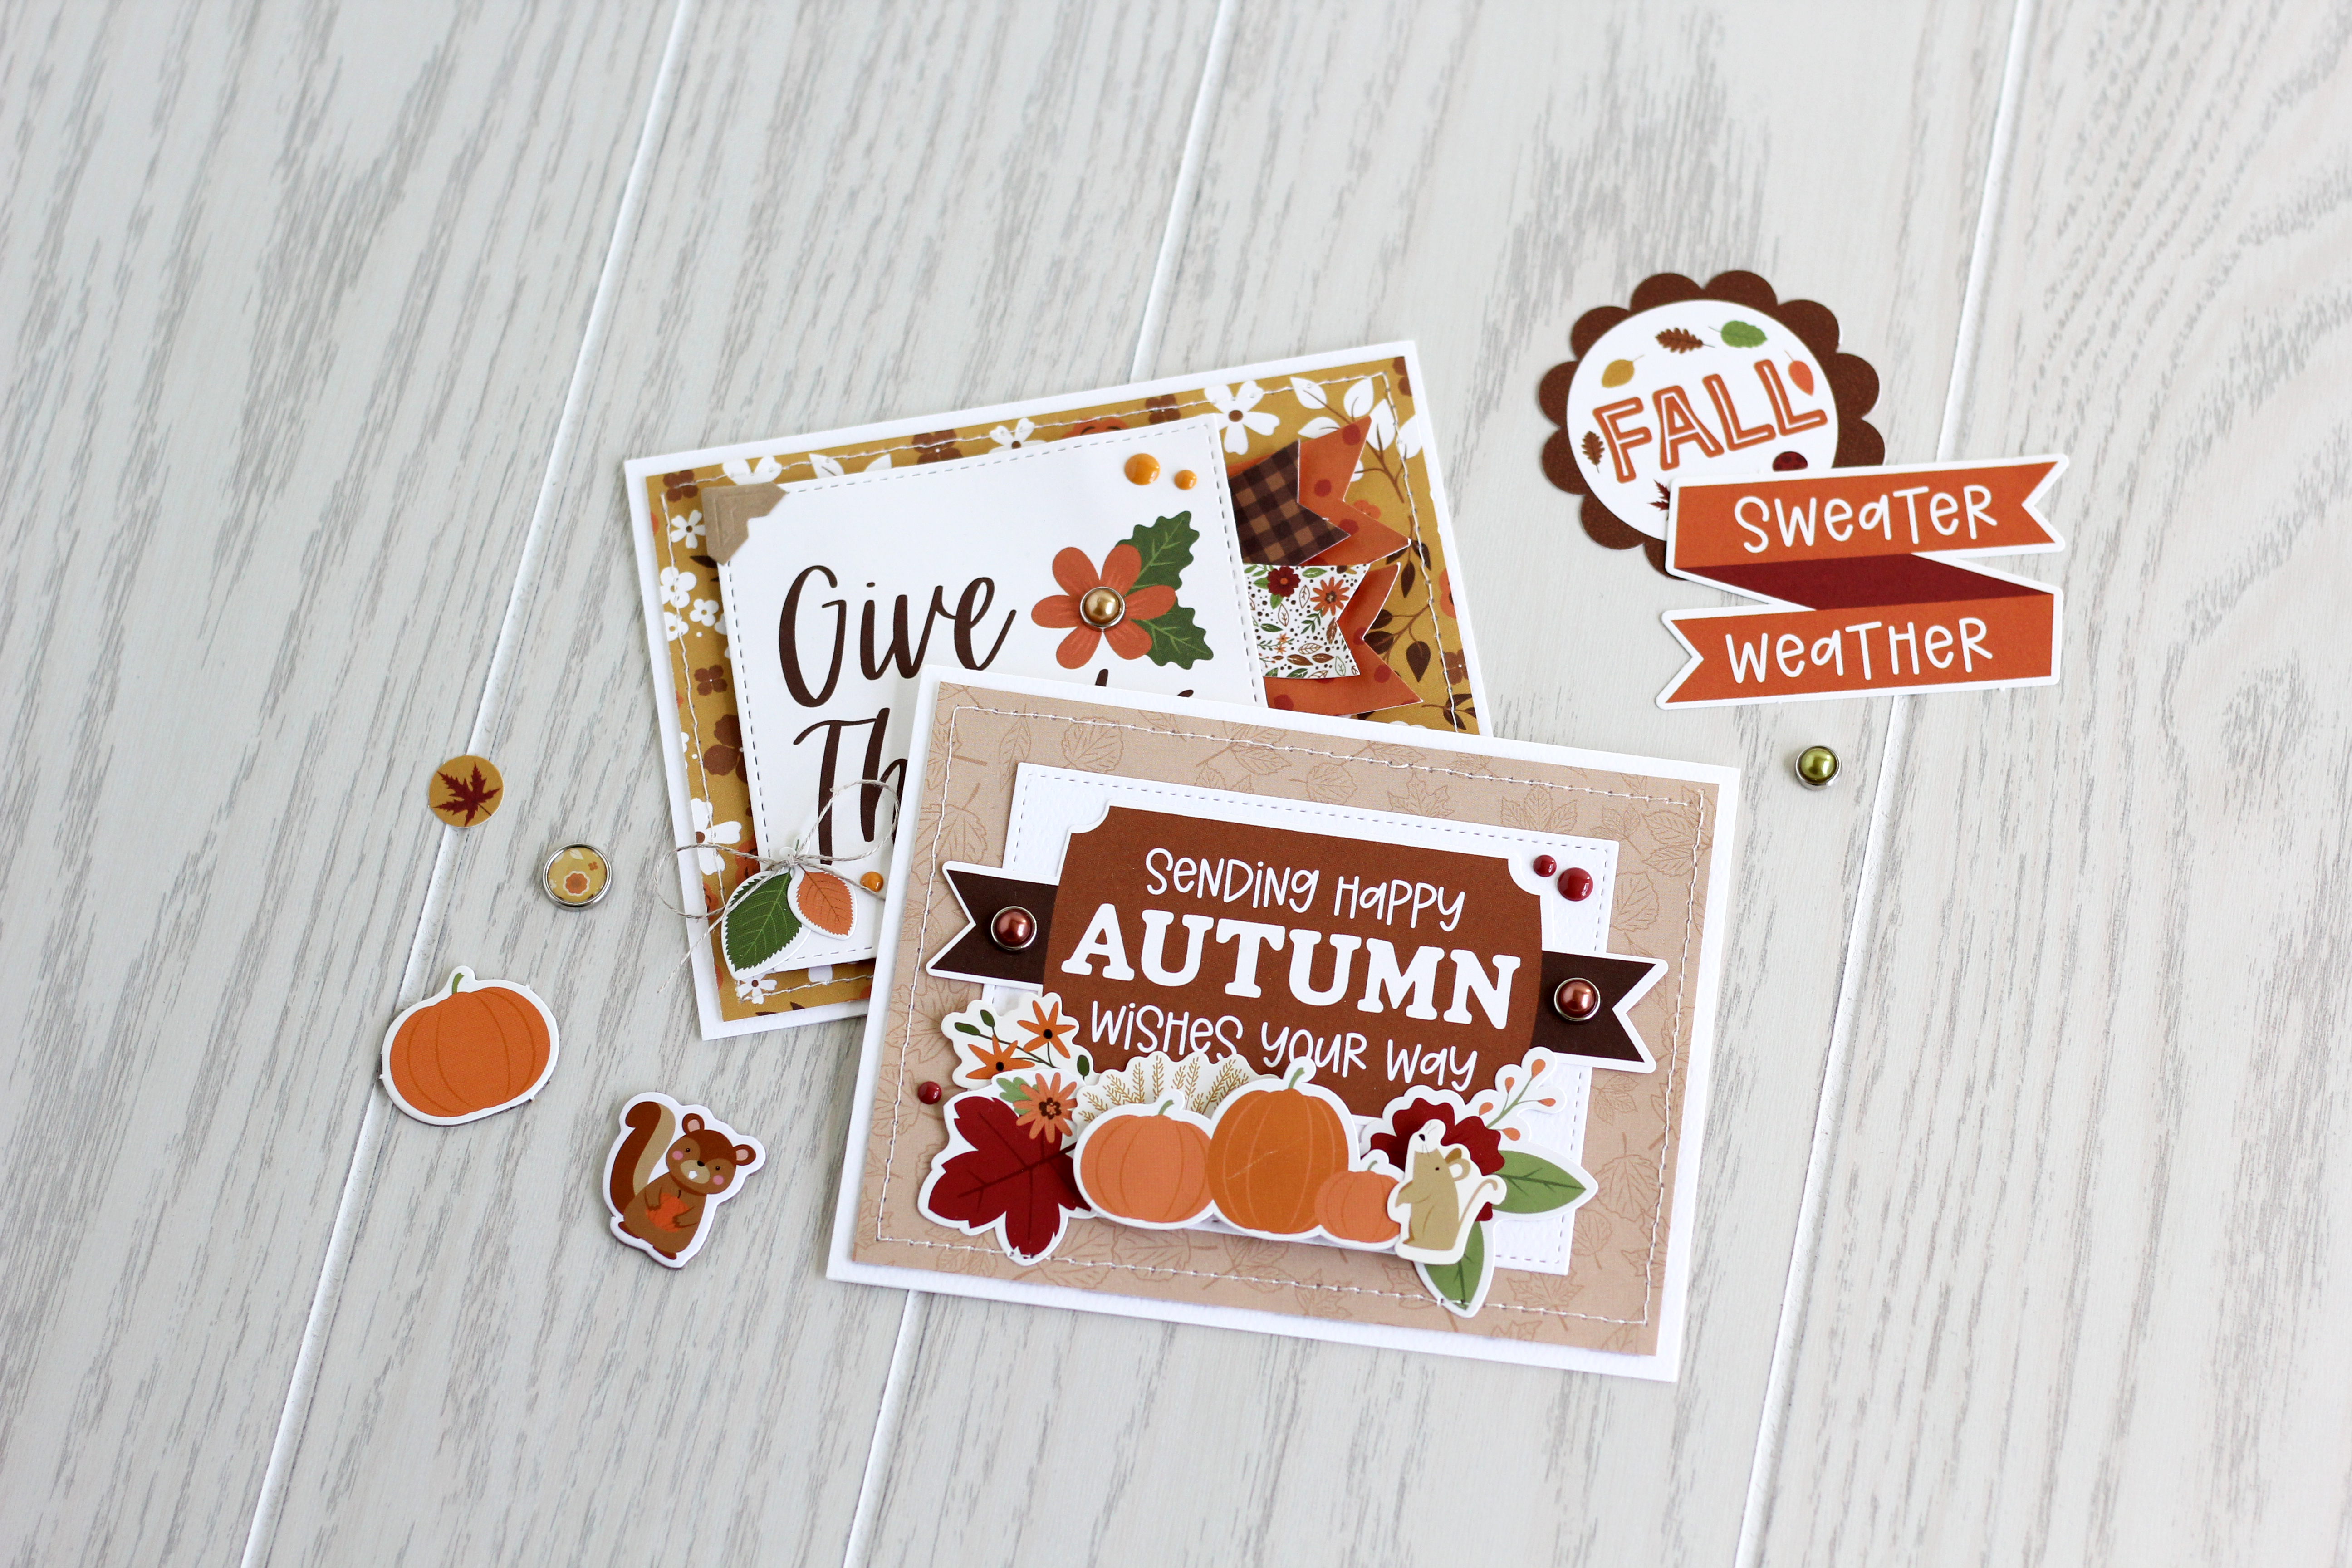
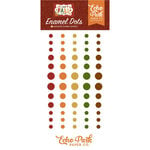
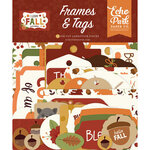
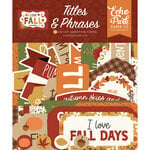
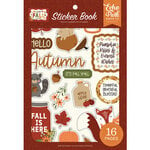
I used the "I Love Fall" collection from Echo Park Paper for both cards
I'm (affiliate) linking the products I used below!

Happy Fall, friends - let the crafting begin!!
Make your own fall cards with these supplies: