Showing posts with label tutorial. Show all posts

Tuesday, August 07, 2018

color pour | american crafts

You guys!  I tried something NEW today!  Something I have never done before.  It's been a LONG time since I attempted something 100% completely new and foreign and out of my comfort zone. But it was SO MUCH FUN!

canvas art tutorial by Wendy Sue Anderson using the color pour system by American Crafts


Have you heard of "pour art?"  Apparently it's a big new trend...and I had no idea it was a thing!  American Crafts gave me the fun opportunity of trying out their new "color pour" kits (available at JoAnn Craft Stores) and I'm so glad they did!

It's so easy and fun - I'm planning on picking up more kits from JoAnn's so I can make more projects with my kids!  Here's a little peek at the process:

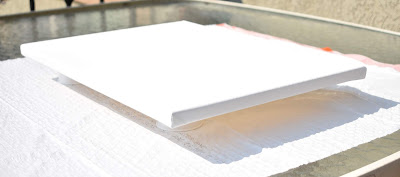
I chose to work on my projects outside - because I wasn't sure how messy it would be.  I laid out a trash bag on the table, then used some little plastic cups to hold up my blank canvas.

canvas art tutorial by Wendy Sue Anderson using the color pour system by American Crafts

It's important to prop up the canvas off the table so the paint can drip off the edges.

canvas art tutorial by Wendy Sue Anderson using the color pour system by American Crafts

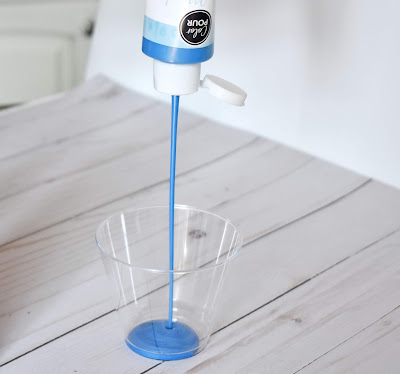
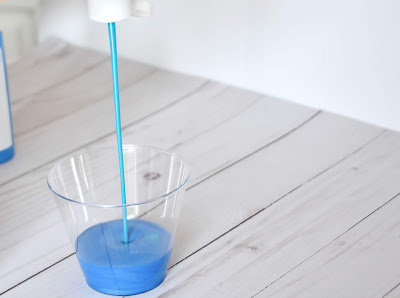
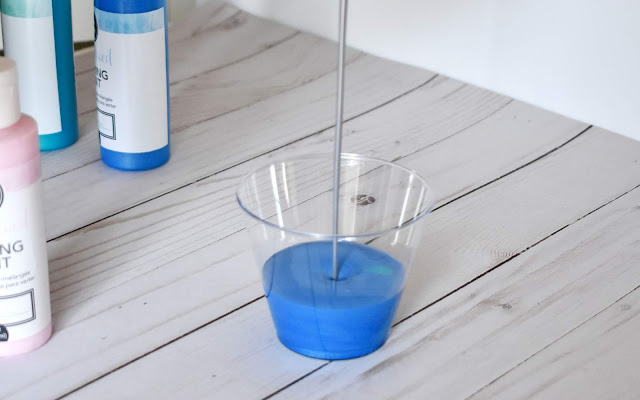
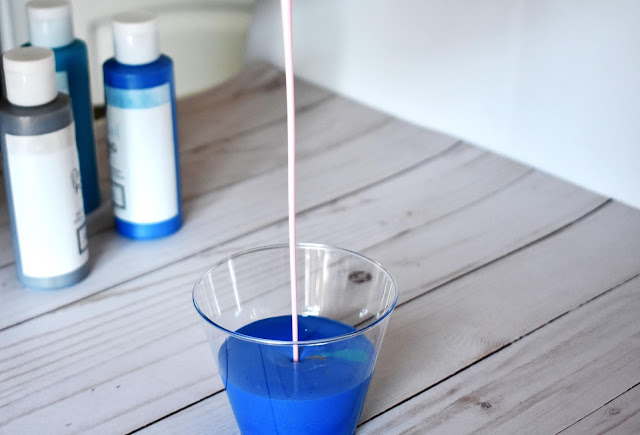
After my canvas was prepped, it was time to get the paint ready! This was so easy - simply pour paint into a plastic cup!  I chose to use all four colors from my kit.  Color 1:

canvas art tutorial by Wendy Sue Anderson using the color pour system by American Crafts

Color 2:

canvas art tutorial by Wendy Sue Anderson using the color pour system by American Crafts

Color 3:

canvas art tutorial by Wendy Sue Anderson using the color pour system by American Crafts

And Color 4:

canvas art tutorial by Wendy Sue Anderson using the color pour system by American Crafts

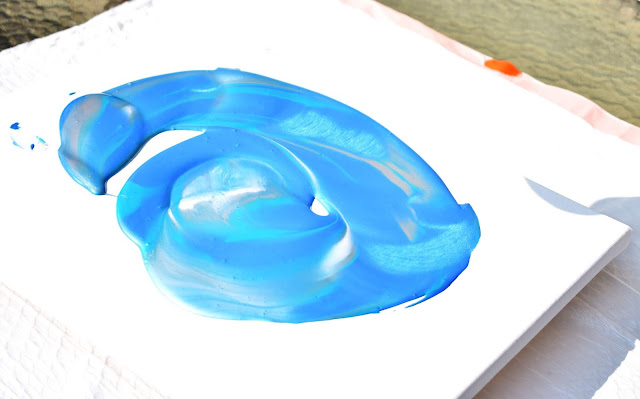
After my paint cup was full, it was time to add it to my canvas.  I was a little nervous, but I just went for it - and dumped it out!

canvas art tutorial by Wendy Sue Anderson using the color pour system by American Crafts

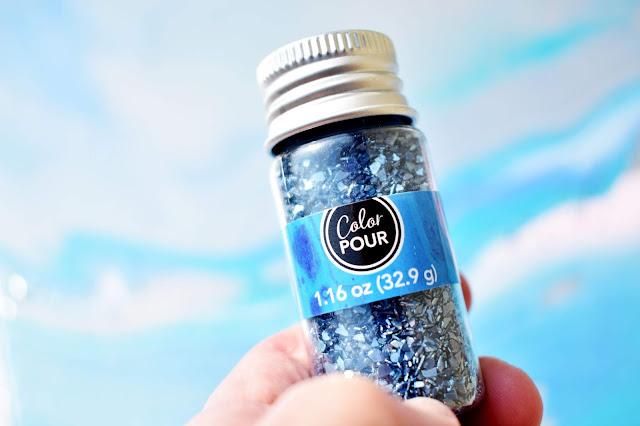
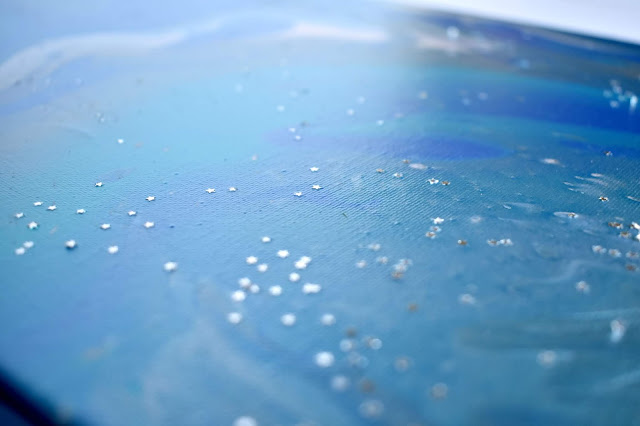
Next, I picked up the canvas (I should have worn plastic gloves) and tilted it from side to side to the paint could "slide" around and cover the entire canvas! After the canvas was covered, I opted to add some glitter (there are lots of fun options available in the kits).

canvas art tutorial by Wendy Sue Anderson using the color pour system by American Crafts

And then I left it alone to dry:

canvas art tutorial by Wendy Sue Anderson using the color pour system by American Crafts

This is also when I decided that I was having so much fun, I wanted to do it again! So I mixed up another cup of paint!

canvas art tutorial by Wendy Sue Anderson using the color pour system by American Crafts

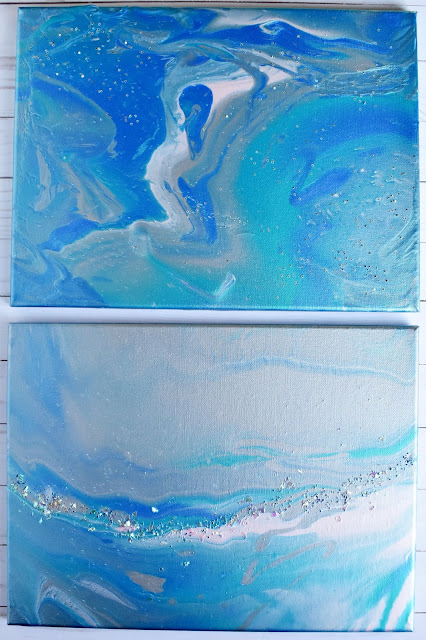
Here's the end result for my first canvas:

canvas art by Wendy Sue Anderson using the color pour system by American Crafts

canvas art by Wendy Sue Anderson using the color pour system by American Crafts

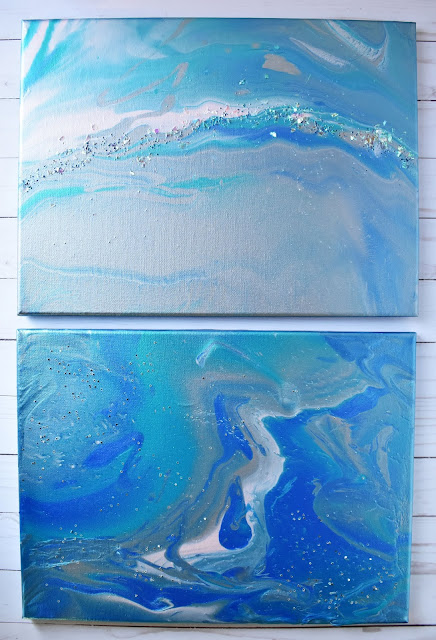
And my second canvas:

canvas art by Wendy Sue Anderson using the color pour system by American Crafts

canvas art by Wendy Sue Anderson using the color pour system by American Crafts

I love how different they are!  And I can't wait to do it again!

canvas art by Wendy Sue Anderson using the color pour system by American Crafts


canvas art by Wendy Sue Anderson using the color pour system by American Crafts

Thanks to American Crafts for giving me the opportunity to work with their new Color Pour system!  Now it's your turn - try it!!  I bet you'll have as much fun as I did!!

Friday, February 09, 2018

heart shaped cards | pebbles, inc.

Hi everybody! Wendy here. With Valentine's Day just around the corner, I have a fun Valentine card idea to share with you today.  I used last year's "My Funny Valentine" collection from Pebbles, Inc. to create these fun "pretend pocket" cards.  As you can see, I created an entire set - and that's because they are so easy to create!  Honestly, if you're making one, you can whip up a bunch in not much more time than one takes!
Create these lovely "pretend pocket" cards with the "My Funny Valentine" collection by @PebblesInc and step-by-step instructions by @wendysue  

 Gather the supplies, some adhesive, and let's create a set together!  Here's everything you'll need - a heart shaped card base (cut from white cardstock), two patterned hearts (the same size as the card base), stickers, washi tape, ephemera (tags and pieces), and baker's twine. Create these lovely "pretend pocket" cards with the "My Funny Valentine" collection by @PebblesInc and step-by-step instructions by @wendysue
Start by cutting one of the hearts into two pieces.Create these lovely "pretend pocket" cards with the "My Funny Valentine" collection by @PebblesInc and step-by-step instructions by @wendysue  
 Place a strip of washi tape along the top edge of the bottom portion of the heart.
Create these lovely "pretend pocket" cards with the "My Funny Valentine" collection by @PebblesInc and step-by-step instructions by @wendysue  
 Place this piece on top of the other patterned heart.  Don't glue it down yet - this will be to determine placement of the embellishments.  The idea is to have the items look as though they are peeking out of the "pocket" formed by the two patterned papers.Create these lovely "pretend pocket" cards with the "My Funny Valentine" collection by @PebblesInc and step-by-step instructions by @wendysue  
 Now that you have an idea as to where the items should be, arrange them and attach them with adhesive.Create these lovely "pretend pocket" cards with the "My Funny Valentine" collection by @PebblesInc and step-by-step instructions by @wendysue  
 Now you can glue the bottom portion down!  Wrap baker's twine over the washi tape and tie a bow.
Create these lovely "pretend pocket" cards with the "My Funny Valentine" collection by @PebblesInc and step-by-step instructions by @wendysue  
 Now add some dimensional foam adhesive on the back of the banner piece.Create these lovely "pretend pocket" cards with the "My Funny Valentine" collection by @PebblesInc and step-by-step instructions by @wendysue  
 Place it on the bottom portion of the heart, below the washi tape.Create these lovely "pretend pocket" cards with the "My Funny Valentine" collection by @PebblesInc and step-by-step instructions by @wendysue  
 Add a gold heart sticker right on top of the printed heart!Create these lovely "pretend pocket" cards with the "My Funny Valentine" collection by @PebblesInc and step-by-step instructions by @wendysue  
 Place the entire piece on the white heart card base.  Ta-da! That's all there is to it! Create these lovely "pretend pocket" cards with the "My Funny Valentine" collection by @PebblesInc and step-by-step instructions by @wendysue  
 See how easy that was?  Now go ahead and use different stickers and embellishments.  Use the same basic steps, and you'll have an entire set of cards in no time at all!Create these lovely "pretend pocket" cards with the "My Funny Valentine" collection by @PebblesInc and step-by-step instructions by @wendysue  
Create these lovely "pretend pocket" cards with the "My Funny Valentine" collection by @PebblesInc and step-by-step instructions by @wendysue
You might even want to incorporate them in your Valentine's Day decor - they're so cute you might not want to give them away!
  Create these lovely "pretend pocket" cards with the "My Funny Valentine" collection by @PebblesInc and step-by-step instructions by @wendysue  
 Happy Valentine's Day! 

Monday, July 31, 2017

sweet baby cards | pebbles inc.

Hi Friends!  Today I'm sharing a fun little baby card I created recently, a lullaby spinner card!  Actually, I made TWO cards - one for a boy and one for a girl...because my silly friend didn't know if she was having a girl or boy, and I wanted to be prepared either way!  She ended up having the sweetest little boy - so now I'm prepared for someone to have a cute little princess!!  Anyway, the fun thing is, you can make pretty much the same card, just swap out a few papers (pink or blue OR make it gender-neutral with yellow, teal, etc.), and you can be prepared either way!

"Sweet Baby" Spinner card tutorial by @wendysue with the "Lullaby" collection by @PebblesInc.

I wanted to create something a little bit different, and after seeing a spinner card one day while perusing the internet, I knew that's what I wanted to do!  It was easy!  Let me show you how I did it.
I started by cutting a standard size card base (4 1/2" x 5 1/4") from white cardstock and a piece to go on the front (4 1/4" x 5"):

"Sweet Baby" Spinner card tutorial by @wendysue with the "Lullaby" collection by @PebblesInc.

Here's a sneaky little trick for adding stitching to the front of a card.  Just stitch on the patterned paper - NOT the actual card base!  I added a simple straight stitch with white thread.  Of course, this step is optional.  After the patterned paper is glued onto the front of the card, nobody will be able to tell they aren't actually sewn together.  The only giveaway will be the nice smooth back without any stitches or knots!

"Sweet Baby" Spinner card tutorial by @wendysue with the "Lullaby" collection by @PebblesInc.
Click over to the Pebbles, Inc. blog to see the rest of this fun tutorial!

Supplies:


Monday, June 06, 2016

quick & easy neighbor treats | pebbles, inc.

I feel like we're on a little walk down memory lane together!  This is a fun little project I created using the "Winter Wonderland" collection by Pebbles, Inc.!

A quick handmade gift idea by @wendysuea with the "Winter Winderland" collection by @pebblesinc!

These cute little berry baskets are my new favorite for sharing food treats and gifts with friends!
A quick handmade gift idea by @wendysuea with the "Winter Winderland" collection by @pebblesinc!
I created a pretty thorough photo tutorial for creating these little treat gifts - just click HERE to visit the Pebbles, Inc. blog.  And remember, you can make these work for any season or occasion simply by switching out the paper collection and/or colors! 

A quick handmade gift idea by @wendysuea with the "Winter Winderland" collection by @pebblesinc!

Friday, October 16, 2015

how to make your own diy trick-or-treat container…

Well, hello friends!  Just popping in today to share a fun little project tutorial I created for the Doodlebug Design blog featuring their super cute October 31st collection. 
Repurposed wood crate for Halloween Treat Box by Wendy Sue Anderson for Doodlebug Design

 I wanted to make a little Halloween treat basket to keep on my desk at work - because all of my co-workers appreciate a little chocolate pick-me-up during a long work day (and I feel much less guilty about eating chocolate if I'm sharing with my friends!).  I started with this little wooden crate, which originally held a fun little holiday cheese sampler - last Christmas!  See, you've gotta hang on to these things because you just never know when you're going to be able to re-purpose them.  Anyway, here's how it started:
Repurposed wood crate for Halloween Treat Box by Wendy Sue Anderson for Doodlebug Design
I measured the inside of the crate and cut a few different papers from the collection to line the insides (I didn't want stray candies escaping through the sides). I just used a bit of adhesive to secure the paper to the wood.

Repurposed wood crate for Halloween Treat Box by Wendy Sue Anderson for Doodlebug Design


The "trick or treat" washi tape was perfect to wrap around the wooden slats and Mr. and Mrs. Ghostie look awfully cute, holding hands in the back of the crate.  They are part of the die-cut set.


Repurposed wood crate for Halloween Treat Box by Wendy Sue Anderson for Doodlebug Design


And I thought they looked like they wanted to say something, so I added these cute speech bubble stickers.  Next, I covered the front of the crate with another fun patterned paper. 
   

Repurposed wood crate for Halloween Treat Box by Wendy Sue Anderson for Doodlebug Design

 
  I thought this label sticker would be the perfect addition to the front of the crate.  I rubbed baby powder on the back to remove the stickiness and placed two mini clothespins to on the top.See how nicely it sits right on the front of the crate?  Oh, I added a strip of the spiderweb paper to the front also, because I felt like the label kind of got lost in the business of the other paper alone.

Repurposed wood crate for Halloween Treat Box by Wendy Sue Anderson for Doodlebug Design

     And of course, I had to add these little trick-or-treating doodle-pops to the front!

     Isn't it cute??
Repurposed wood crate for Halloween Treat Box by Wendy Sue Anderson for Doodlebug Design

     The only thing left to do is add the treats!!  mmmmm...I LOVE Halloween!

Repurposed wood crate for Halloween Treat Box by Wendy Sue Anderson for Doodlebug Design

     So the next time you receive a gift in a cute little container, hang on to it!

     You never know when you'll be able to dress it up (ha ha, get it??)...

And fill it up with something yummy...To share with your ghoul-friends!

     Okay, I'll stop now...but really, pick up this fun collection and see how you can use it to create an eerily fun and spooktastic project!!

Happy Halloween - eat lots of treats and share them too! :)

{affiliate links}