
Today I want to share an idea for organizing cards! You probably already know, but I make cards. A lot of cards. A lot lot lot of cards. I love having a huge stash of fun cards to choose from for just about any occasion. The only problem is figuring out how to best organize them. I've tried lots of different ways over the years (here's a link to the system I tried last year HERE). But I'm still looking for the best system for me. So this year, I'm going to try something new. I'm putting the Project Life system to work for me in my card-organizing endeavor! When I thought of this, it almost seemed TOO easy. Most cards are 4 1/4" x 5 1/2" - which means they fit almost perfectly in a 4"x6" page protector opening. I don't mind having them stick out of the top just a bit - in fact, that makes it easier to pull them out. And I love the idea of being able to organize the cards by theme, and see them all in a glance - no need to pull out a stack and flip through each card - just open the binder and flip the pages! Here's a look at my new system:

I made cards for each card "theme." These cards will separate the sections in my binder.
I'll place each one in the top right corner of a page protector for easy reference. 

Here's how easy it was to assemble each of the cards.
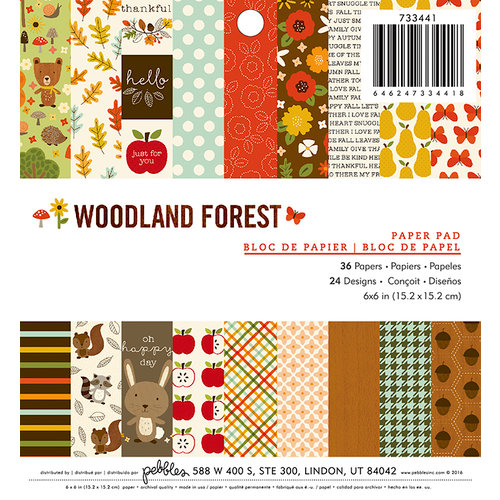
First, I cut a 4" x 6" piece of patterned paper for each card, and a 3 1/4" x 4" paper as well. I found the themes on the "thankful" paper in the Woodland Forest collection - but many of the Pebbles collections have a similar page that would work! I also pulled a cute embellishment and some twine for each card.

The first step is to stitch, with a sewing machine and white thread, the patterned paper to the left side of the neutral 4"x6" paper:
Next, place the "theme" card on the right side, slightly sticking out over the top of the card.
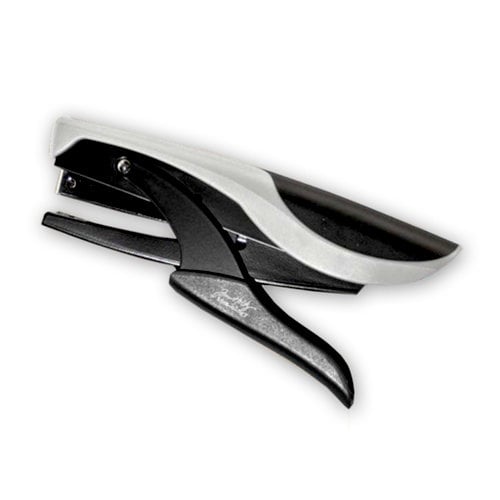
Next, I used a mini stapler to add the jute to the card. Here's a simple way to add a jute bow. Staple the jute down wherever you want the bow to be.
Tie the jute in a knot over the staple (this will pretty much hide the staple).
Now tie a bow - the staple has disappeared and there's a perfectly placed jute bow!

Add the wooden embellishment to the left side of the card.
That's it!

Now repeat the process for each card:

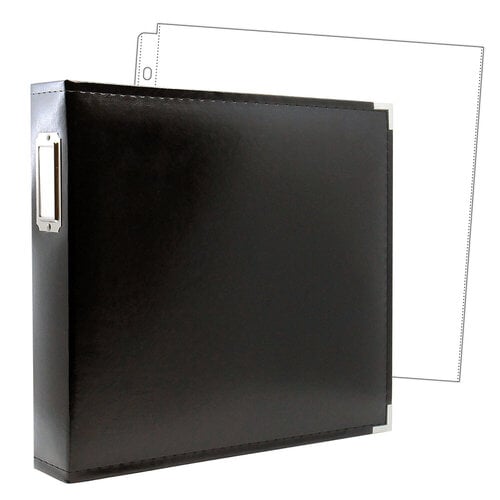
I added some thickers to the label holder in the spine of the binder:

Now just tuck your handmade cards into the divided sheet protectors and you're ready to share love through your cards! One other thing I like about this system is that I can use some of the other page protectors to hold different sized cards - or even tags. If I use a regular 12x12 page protector, I could even tuck in gift bags! Another thing I think I'm going to like about this system is the convenience of seeing which themes need to be replenished! When I'm in the mood to create cards, I can flip open the binder and see which theme has less "inventory" to choose from and go from there!
Thanks for stopping by today. If you have a favorite way to organize your cards, please share in the comments - I love seeing how other people organize!!
Supplies:
No comments:
Post a Comment