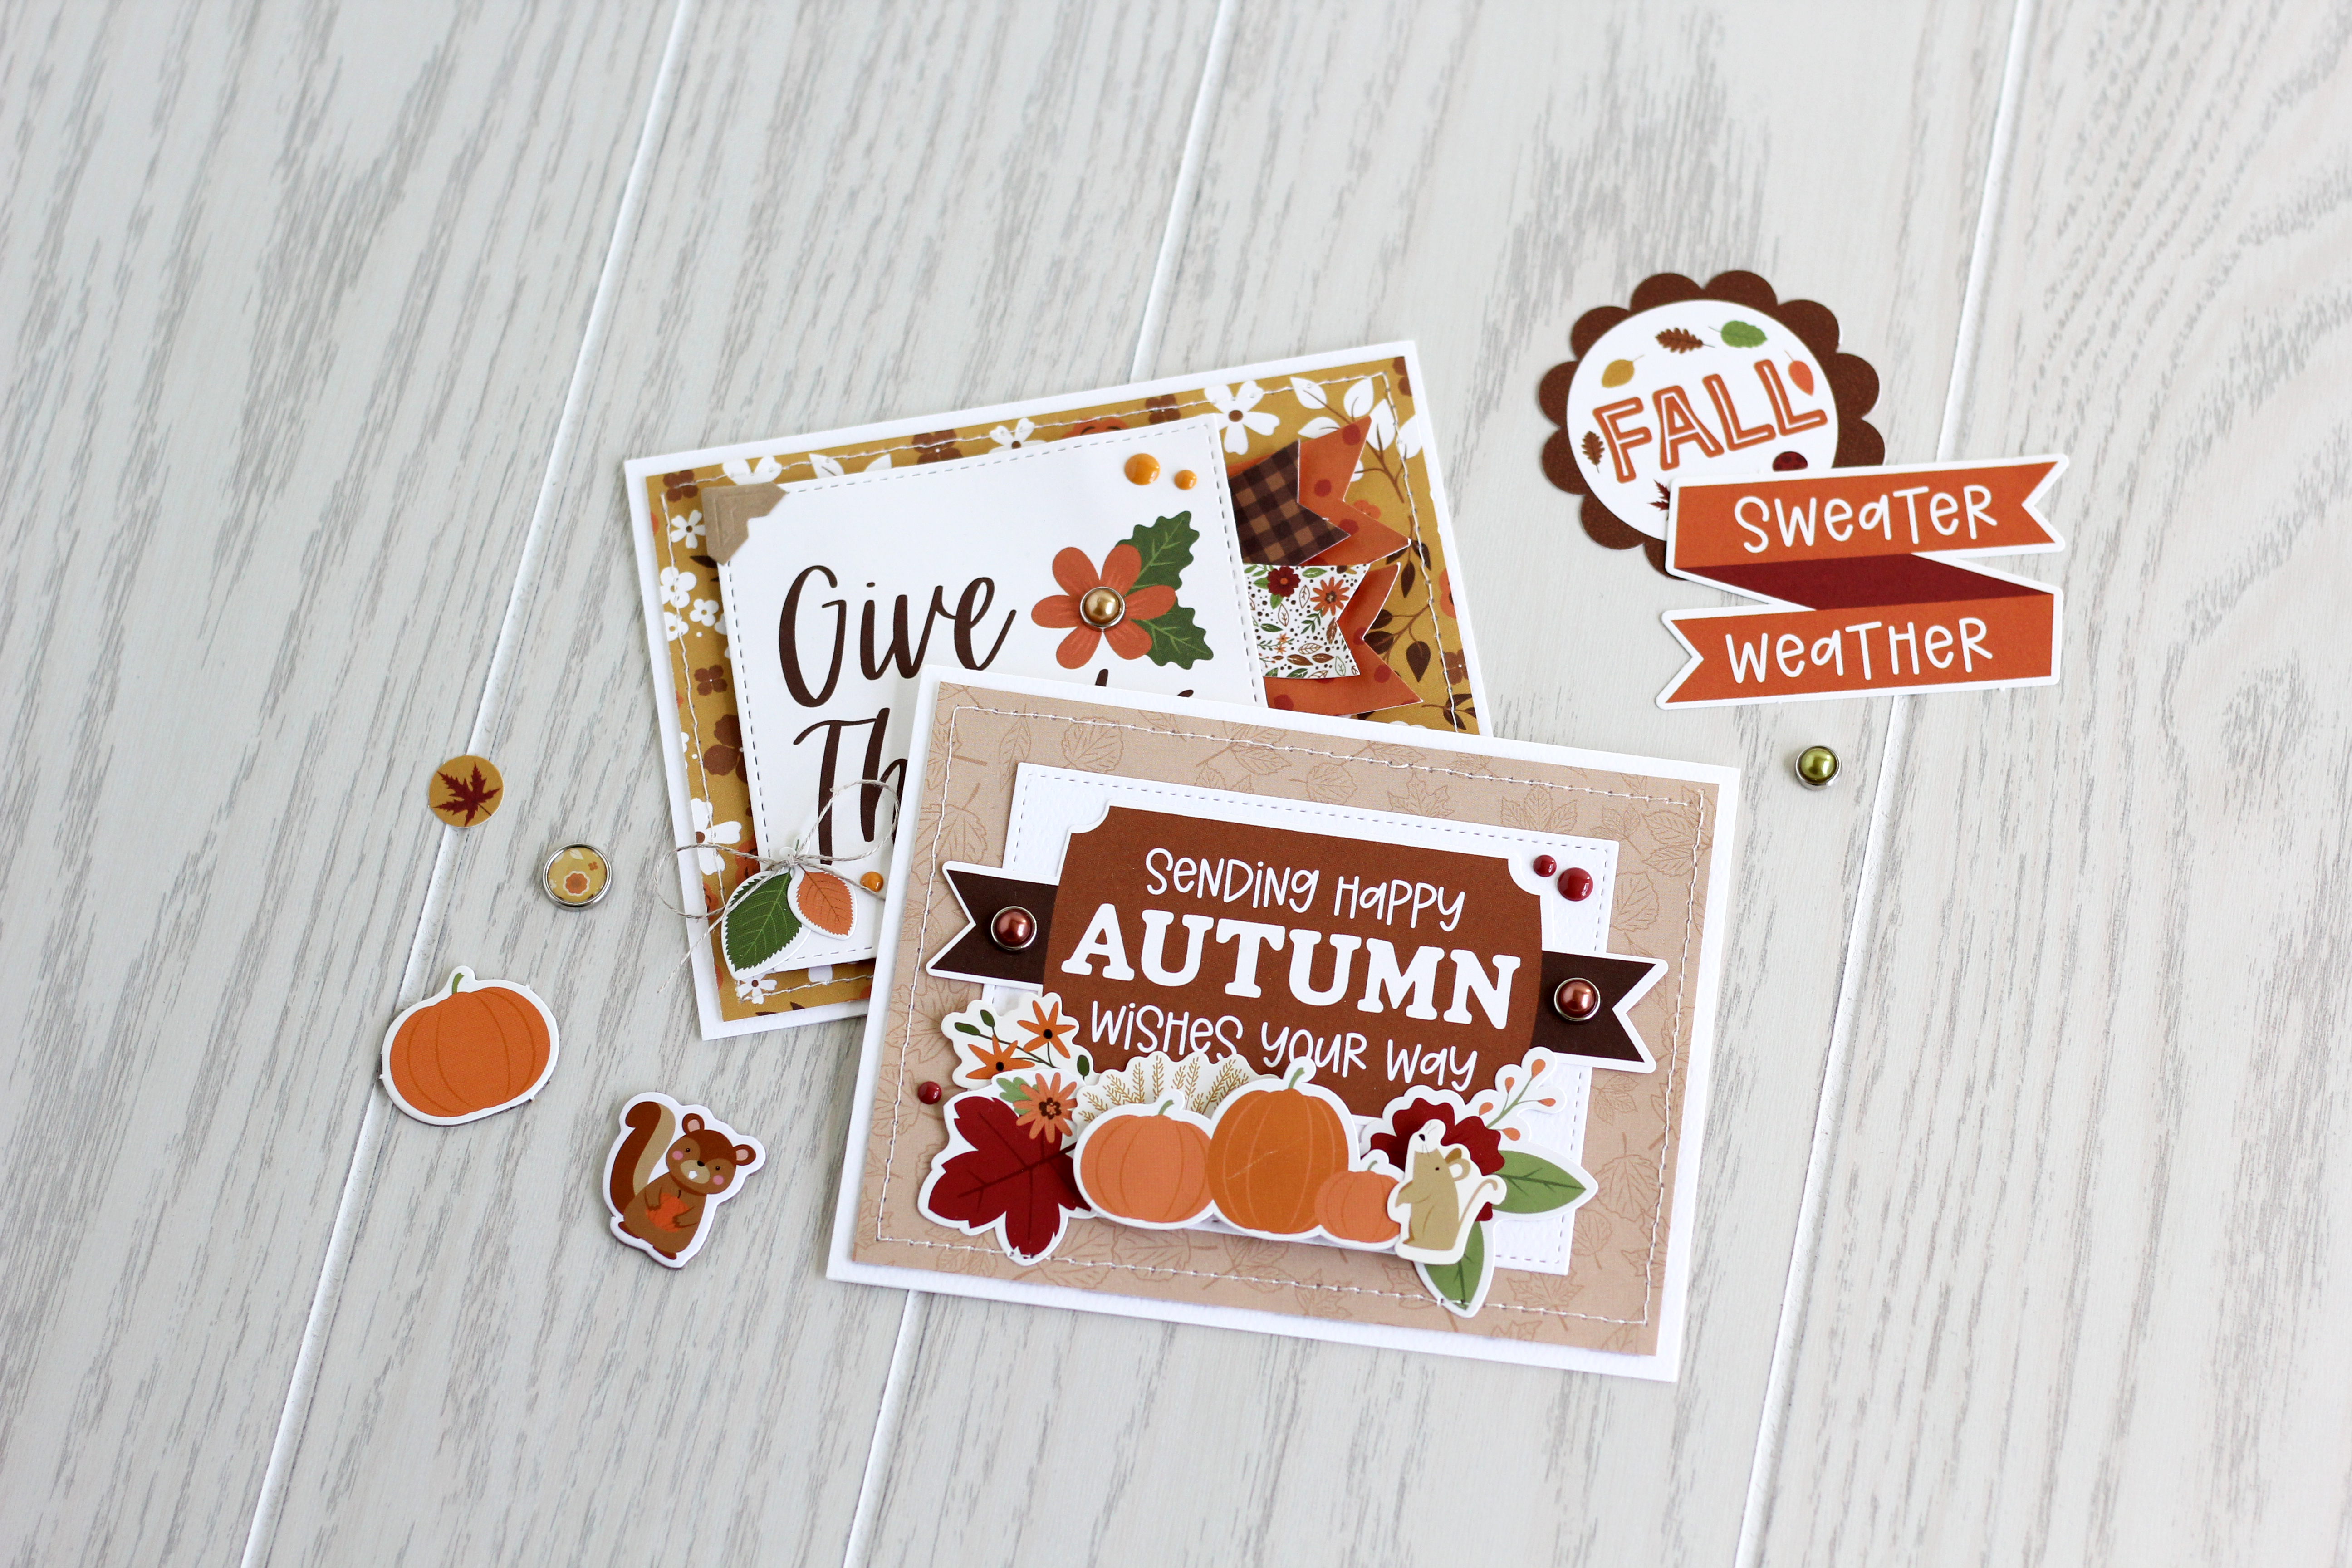
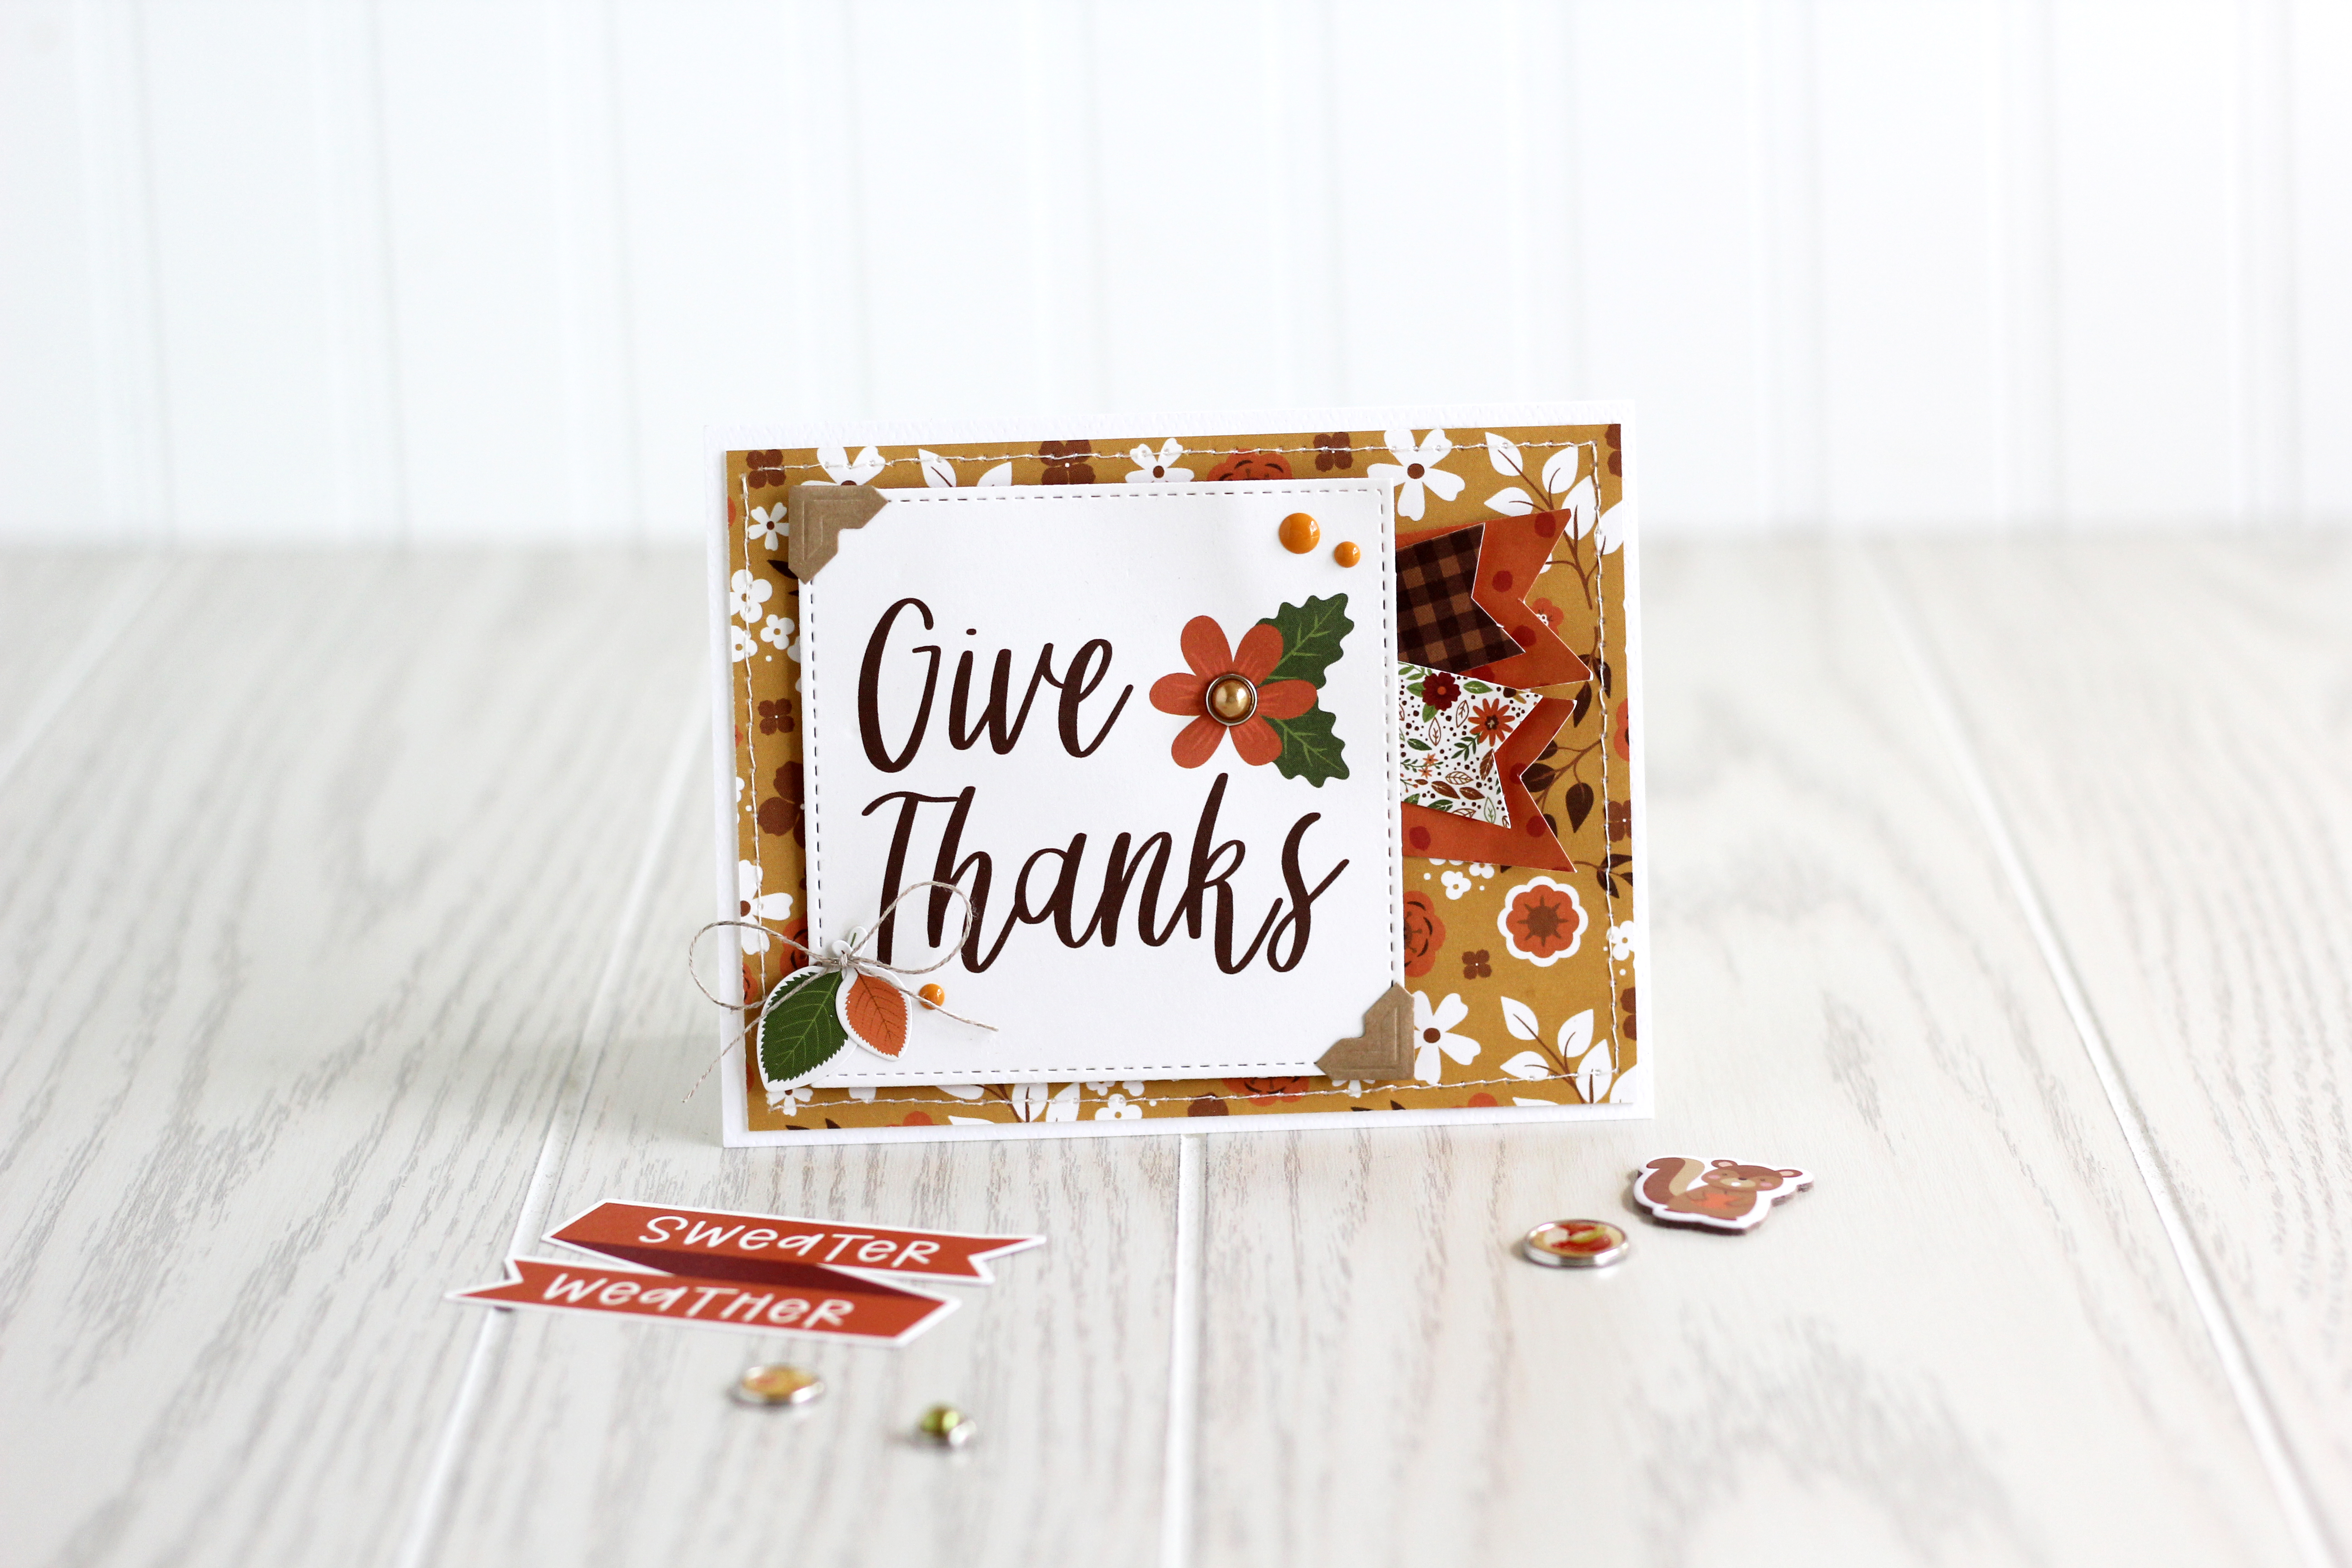
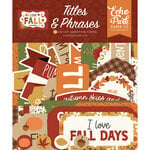
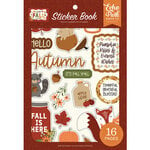
Happy Fall!! When it's time to pull out the cozy sweaters and the pumpkin spice, I am one happy girl! Crafting and Fall go hand in hand for me, so it's only natural that these cards make me giddy.
I used the "I Love Fall" collection from Echo Park Paper for both cards
I'm (affiliate) linking the products I used below!
Hi friends! I'm back today, sharing a quick and easy "Celebrate" card I created with the fun Pebbles collection called "Chasing Adventures." With so many amazing themes and color combos to choose from, it was hard to narrow it down, but I fell in love with these cute little taxi illustrations and just knew I had to use them on a card! Here's a peek at the card duo I made - keep reading for a simple step-by-step plan for creating it yourself!
Start by gathering and prepping the following items (sizes are indicated on the photo):
The first step is optional, but one I always love - use a sewing machine to stitch around the edges of the dot paper.
Place the dot paper in the center of the yellow paper.
Next, place the taxi paper on the bottom portion of the dot paper.
Add the strip of white cardstock above the taxi paper, tucking it slightly under the top edge.
Add the sentiment (this could be printed, die-cut, or even hand-written) onto the white cardstock strip.
I forgot to take a photo, but the next step is to add the small patterned paper strip above the sentiment. Place it over the top of the white cardstock so there is an even amount of space above and below the sentiment.
The next step is to punch (or poke) small holes in the four corners of the sentiment box. Stitch the twine through the holes and tie a bow on the bottom left side.
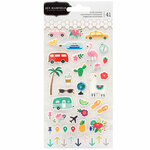
Next, add the dimensional sticker above, and slightly to the right of, the sentiment box.
Finally, place the entire card front onto the white cardstock card base!
That's it! Wasn't it easy?? And wouldn't it be fun to use this same basic design with different papers, stickers, and sentiments? The possibilities are endless! Coincidentally, I just couldn't stop at one card - and I had plenty of paper to make another identical card (actually I could have made several cards with only a few pieces of patterned paper!) - the only difference is that I used a puffy sticker taxi cab instead of a thicker!
Thanks for joining us on the blog today!
If you use this tutorial, please share your creations by linking in the comments!!
I shared these new year's cards over on the Pebbles blog a few weeks ago and wanted to share them here as well!
Click over to the Pebbles Inc. Blog to see how I created this fun card set! And don't worry about timing - you could use the same card for another occasion, just swap out the sentiment - wouldn't' it be a fun birthday or anniversary card?!?
Hi there! Thanksgiving is over, but there's never a single season that should be devoted to "thanks" giving! I whipped up a quick and easy thank you card set featuring the "Along The Way" collection by Pebbles, Inc. to share with you today!
Start by choosing several patterned papers and use a digital die-cutting machine to cut out the word "thanks" from each paper.
Mix and Match the letters:
Click HERE to visit the Pebbles Inc. blog for step-by-step photos for creating the rest of the card!
Mix and match more letters to create more cards:
Thanks for stopping by the blog today!
I hope this Thank You Card Set has inspired you to whip up a few of your own!