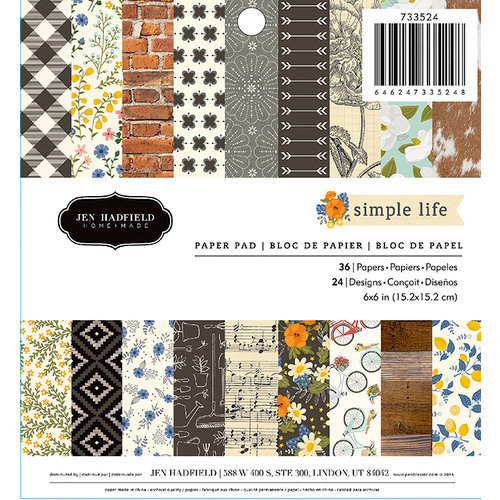
This is turning into quite the walk down memory lane, but I'm sad that I didn't share these projects already! Today I'm sharing this set of pretty floral cards I created with the brand new "Simple Life" collection! Sometimes after making pretty card fronts, I choose to add a little something extra to the inside of my cards. When you have gorgeous coordinating products, it's easy to add a little personality to the inside so it will match the outside as well! Let me walk you through the process of making one of these happy floral cards.

Of course, the first thing you need to do is gather the supplies:

The yellow floral piece is 4" x 5 1/4" and the black sketched piece is about 3 1/2" x 4 1/2" - I used a steel die to cut the black piece with the faux stitching, but you could opt to add machine stitching or just cut a regular rectangle.

The pretty script paper block is about 1 3/4" x 4" - add it to the left side of the layered piece.


Use a small circle punch to cut little notches near the top and bottom right of the script piece. This will act as an anchor for the twine and keep it from slipping back and forth after it's tied on!


Place a floral die-cut or sticker in the bottom left corner.


Now tie some twine around the piece and tie a bow.

Place a wood word as shown:

And place the entire piece on the front of a gray 5 1/2" x 4 1/4" card base.

And now for the inside! Cut a piece of cream cardstock to 4" x 5 1/4" and place on the inside of the card.

Place a sentiment sticker right in the center.

Add a few coordinating flower stickers around the sentiment:

Now repeat the process for however many cards you want to make!


Supplies:


This is so nice. Love it! Simple and clean.
ReplyDelete