
 And they truly live up to the blog title - quick and easy! Here's how to make it yourself:
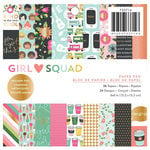
First, start by cutting various patterned pieces (these are from the 6x6 paper pad). The base should be 4" x 5 1/4." The pink dotted paper is 4" x 3" and the black gingham is actually from one of the tear strips, trimmed down to 4" wide. The striped paper is was cut into a half-circle shape and is 4" wide along the flat edge.
And they truly live up to the blog title - quick and easy! Here's how to make it yourself:
First, start by cutting various patterned pieces (these are from the 6x6 paper pad). The base should be 4" x 5 1/4." The pink dotted paper is 4" x 3" and the black gingham is actually from one of the tear strips, trimmed down to 4" wide. The striped paper is was cut into a half-circle shape and is 4" wide along the flat edge.
 After these pieces have been cut, assemble them like this:
 Next, tie white twine around the card:
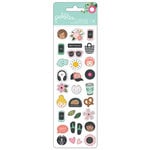
 Now you'll want to gather stickers, puffy stickers, ephemera, etc.
 Use them to embellish the circle. I used foam adhesive behind the die-cut pieces for a little bit of dimension.
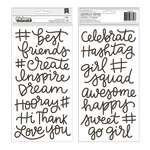
 Adding a sentiment is the next step. You can use digital die-cut shapes, metal dies, stickers, etc. to add a sentiment.
 That completes the card front! Finally, place this entire piece on a white card base (4 1/4" x 5 1/2")
 If you want to create a fun coordinating envelope, pull out some washi tape (this is from the Sunshiny Days collection) and stickers or die-cuts.
 Just add a strip of tape and a few embellishments! Super cute and easy, right?
 Finally, here's a look at the complete set:
 And while you're at it, you should probably whip up at least one more of these quick and easy cards with coordinating envelopes!
 Supplies I used to make these cards:


{affiliate links}
No comments:
Post a Comment